


Next to fashion, we love experimenting with different styles and brands of makeup. We have our traditional routines from day-to-day, but sometimes we like to change it up. From a different shade of eyeshadow to a new lipstick, we wanted to bring you two makeup styles that we wear often that we feel you can wear everyday. Summertime is our favorite for beachy locks and no makeup, but once in a while it feels nice to do a pop of liner or natural smokey eye. So here are our step-by-step instructions of two complete looks, and how you can get them!
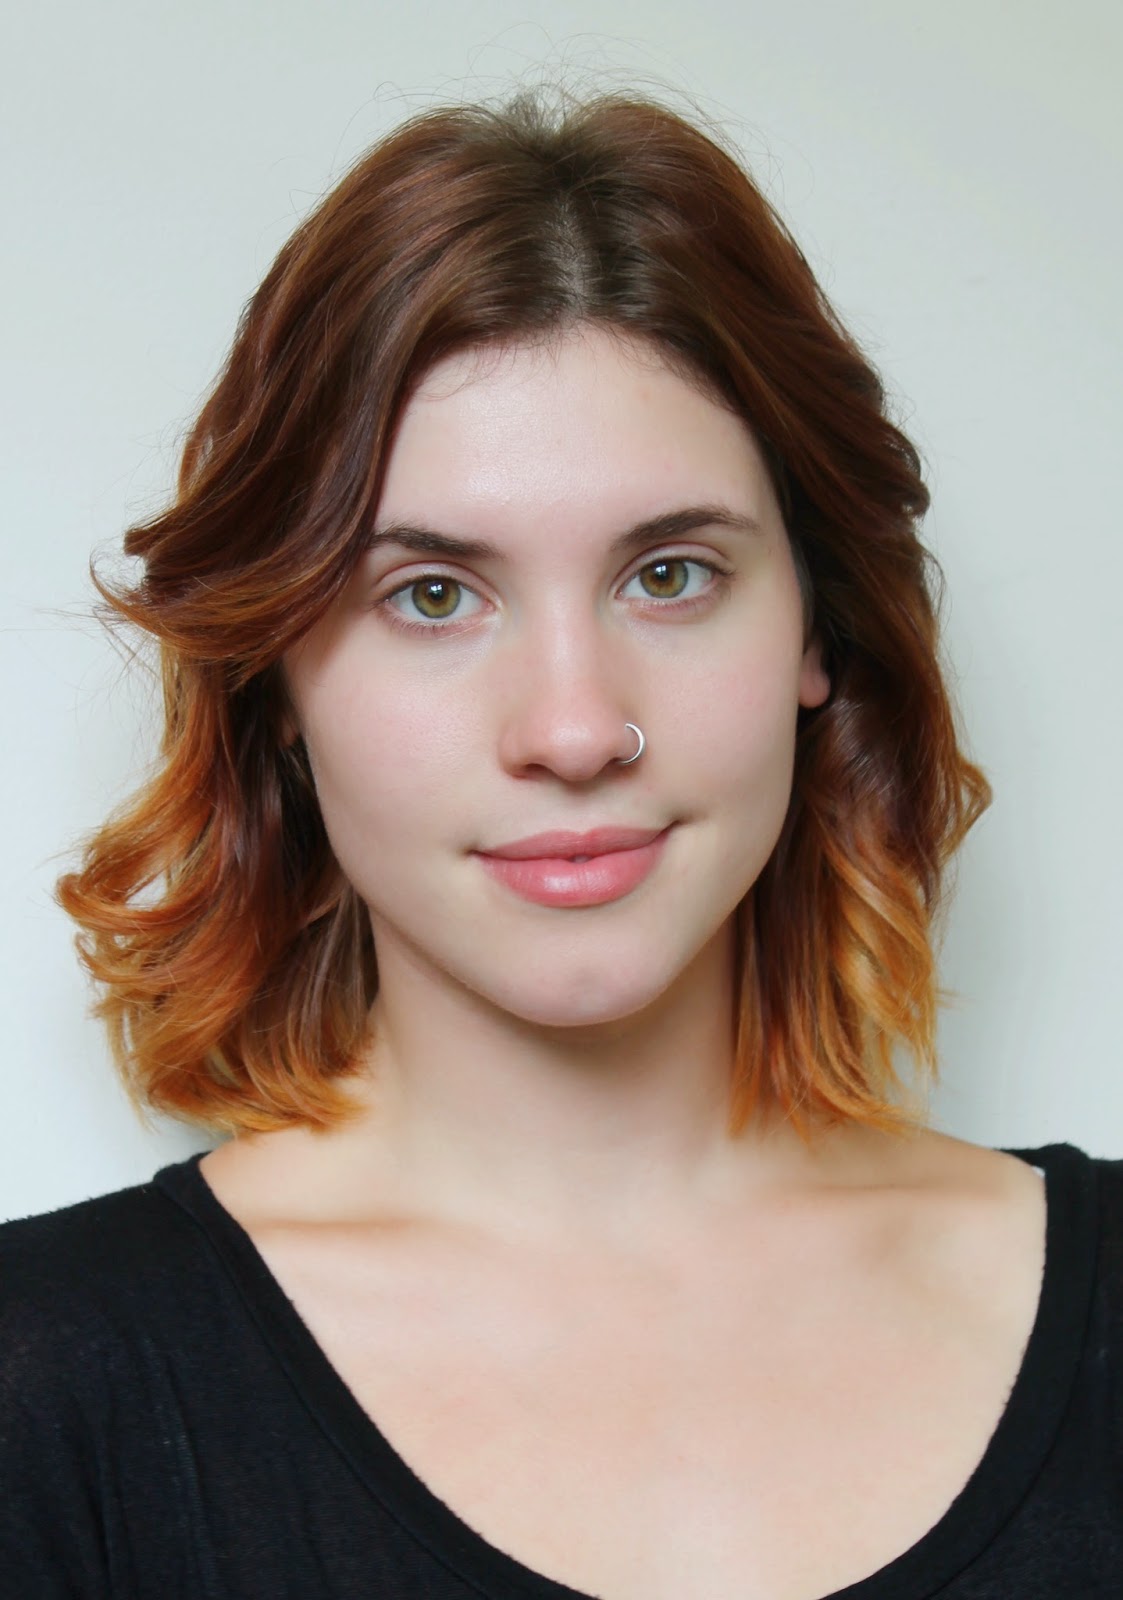
Annalise // Natural Smokey Eye
When I'm looking for something other than a liner, I love going to a natural smokey eye because it is appropriate for day or night! I love neutral tones to warm up the farm and give a warm glow.
Products:

- Sephora Foundation Brush
- Clinique Blush Brush
- bareMinerals Flawless Application Face Brush
- bareMinerals Maximum Coverage Concealer Brush
- Hope In A Jar A to Z Cream in Light
- Covergirl Ready Set Gorgeous Concealer in Fair
- Laura Mercier Pressed Powder in Tender Rose
- Maybelline Fit Me Blush in Deep Coral
- bareMinerals Warmth Powder
- e.l.f. Eyebrow Brush
- e.l.f. Eyebrow Gel Shadow
- Benefit Creaseless Cream Shadow in RSVP
- Maybelline Eyeshadow Quad in Chai Latte
- Sephora Collection Kit
- Sephora Collection Kit
- Sephora Collection Kit
- Covergirl Perfect Blend Eye Pencil in Black Brown
- Maybelline Lash Stiletto in Very Black
- Revlon Lash Curler
Before:
Step 1: All Over Coverage

- Apply two pumps of Hope in a Jar A to Z cream (#5) on to the back of your hand using it as a palette. Take the flat foundation brush (#1) and apply the tinted moisturizing cream using quick strokes blending down under your chin.
- Take a concealer brush (#4) and apply concealer underneath both eyes to blend into the A to Z cream.
- Use the full face brush (#3) to evenly apply the pressed powder (#7).
- Take the smaller face brush (#2) for both the warmth (#9) and blush (#8) and dust lightly underneath the cheekbones.
Step 2: Eyes

- First apply the cream shadow (#12) using your finger putting it all over the palette of your eye and into the crease.
- Using a soft shadow brush (#14), apply a light, neutral brown into the crease of your eye out towards the lid.
- Take a fuller brush (#15) and apply a golden brown shadow along the outside of the lid blending it into the previous color applied.
- Take a short blending brush (#16) and use it to apply an even lighter golden brown lining along the top of the lid and underneath along the bottom lashes to the crease.
- Take a dark brown eyeliner (#17) and draw a line from the outside of the top lid inward until about the middle of the eye. Do the same for the bottom lid.
- Once again, take the short blending brush and apply a dark brown shadow to the area where you marked the eyeliner making sure to blend the dark shadow up into the outside lid. Don't forget to do the same underneath the bottom lashes!
- Fill in eyebrows using a small, flat angled brush (#10) and a gel powder (#11).
- Take the concealer brush (#4) and use a light cream shadow to highlight under the eyebrow.
- Apply mascara (#18) and curl lashes (#19).
After:

Apply your desired lip color. I kept it neutral here with Clinque's Bamboo Pink!
Amy // Subtle Winged Liner
I usually change my look from day to day depending on my mood or my outfit. However, I always go back to my liquid liner for a bold but casual look. Something I hope every girl remembers is that it's not make up that makes us "pretty", it simply just enhances what we're lucky enough to already have!
Products:

- Bobbi Brown BB Cream in extra light
- Bobbi Brown Oil Free Tinted Moisturizer in extra light
- NYX Eyebrow Cake Powder in ash blonde
- Elf Blush in mellow mauve
- L'oreal Blackbuster liquid eyeliner
- Maybelline Master Drama eye liner in midnight master
- Milani Translucent Anti-Feathering lip liner
- Laura Mercier pressed powder in Tender Rose
- Make Up Forever Smoky Extravagant mascara
- Charlotte Ronson concealer (sadly discontinued)
- Full Powder Brush from BareMinerals
- Anastasia Beverly Hills Eyebrow brush from BareMinerals
- Watt's Up! Luminizer from Benefit
- Foundation Brush #56 Pro Flawless from Sephora
Before:

Step 1: Eyes and Brows

Having very, very light eyebrows is sometimes a challenge. I have a great full brow, just no color to enhance it! So, darkening them a bit but still keeping them light to play off my hair and skin tone is the perfect fix for me. Complimenting my eyes with a liner and mascara is an easy wearable style.
- The first thing I do is use my angled brush (#12). I lightly brush over the powder and apply it to my brows by following the natural direction of the hair and shape of the brow.
- After that I usually use the opposite end to brush the color through and lighten it up if need be.
- I use a Charlotte Ronson concealer (#10) directly under my eyes to brighten them up and hide any dark areas. Lightly cover the area and blend in with your fingers.
- For my liquid liner, I use L'oreal Blackbuster (#5). It's basically an eyeliner in marker form which makes it really easy to use. I start about 3/4 away from my inner corner and draw a line close to my lash line, following all the way through to my outer corner. Depending on how thick or long I want the wing to be, I usually do that part last with my eye open so I can judge the size
- I was blessed with curved lashes, so I skip the curling part and just apply my mascara to my top and bottom lashes. The one I use is from Makeup For Ever (#9).
Step 2: Face Coverage and Blush

Naturally I have very sensitive skin. So much as lightly touching it causes it to blemish. My face is also very red and has an uneven tone, which is why I love to use a tinted moisturizer to even out the color.
- Bobbi Brown makes my favorite face products. Her tinted moisturizer (#2) is my normal go to. I apply a small amount to the back of my hand, using it as a palette. With my foundation brush (#14) I apply it to my face in small quick strokes until I have covered my face evenly.
- Next I use my lightening stick (#13). This gets applied to my cheek bones in 2 small lines following the shape of my face and I blend it with my fingers. It just gives a subtle glow! Also in doing this, I thin out my tinted moisturizer allowing my freckles to show.
- To set everything and control a bit of shine from my moisturizer, I use my Laura Mercier pressed powder (#8).
- Last I do my blush. My favorite brand by far is Elf (#4). I use my full brush (#11) and apply the brush in circular motions while smiling, from the round of my cheekbone following through almost up to my hairline.
* The Bobbi Brown BB cream (#1) is what I use in the cooler months when heat and humidity isn't something that plays a part in how my make up sits on my face all day. It's a bit heaver than the tinted moisturizer because it has a foundation, moisturizer and sunscreen all in one. For someone who has normal or dry skin, this would work great all year round.
Step 3: Lips

Depending on where I'm going or what I'm wearing, my lip color always changes. Today I just picked a natural color called Dolce Carmello by Milani.
- Before I apply color, I always use my translucent anti-feathering lip liner (#7). It looks exactly like a liner except it's clear and made to keep color from leaking anywhere other than your lips. I line my lips with it and make sure to follow through all the way to the corners.
- This is where I apply my color! I wish I could say there was some secret to perfectly applying lipstick, but it's really just practice!
We hope you Bloomers find some makeup inspiration here! We embrace natural beauty, but also love being able to play around with products and highlight our favorite features. Let us know what your favorite products and methods are!

<3 Annalise & Amy
Pretty!
ReplyDelete